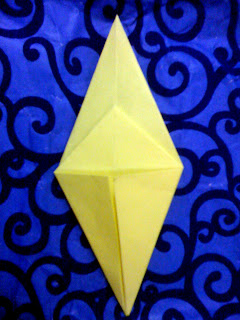
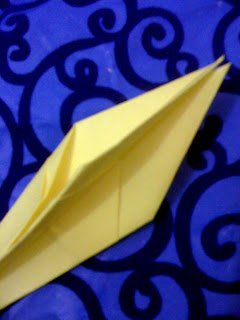
A thousand cranes- yup that's my goal but I'm still at my 107th and counting!
Here are the steps in creating a paper crane. Enjoy!
1. Start with a perfectly square sheet of origami paper.
Begin by folding one edge horizontally to meet the other side.
2. Open up the paper and repeat step 2 in the other direction and open up it up again.
2. Open up the paper and repeat step 2 in the other direction and open up it up again.
3. Fold it diagonally to get this. Repeat step 3 in the other direction then open up the paper.
4. Bring in the side corners to get this.
Repeat step 5 on the other flap. Flip the paper and repeat step 5 on the other 2 flaps to get this.
6. Fold the top flap down and crease hard, repeat on the other side.
7. Lift the flap on the open end
8. Fold it upwards, bringing in the sides.
9. Lay flat to get this.
..to get this
13. Fold up top flap on the lower open end until it reaches the tip of the upper flap.
Repeat step 14 on the other lower flap.
to get this.
16. Fold top flap down. Repeat step on the other side to get this.
17. Invert fold one of the upper tips to form the head.
19. Gently pull the wings apart to form the body.


No comments:
Post a Comment